Page 1 of 2
Ok, now I've got a properly sized chamber
Posted: Fri Mar 10, 2017 22:31
by Sleebus
Found a Frostless Kenmore on Craigslist for $50 last weekend. Got a friend to help me move it, and now I've got it set up in the shed and running to see how the numbers end up hovering. Took forever to start cooling, but it's on the way down now. *whew*
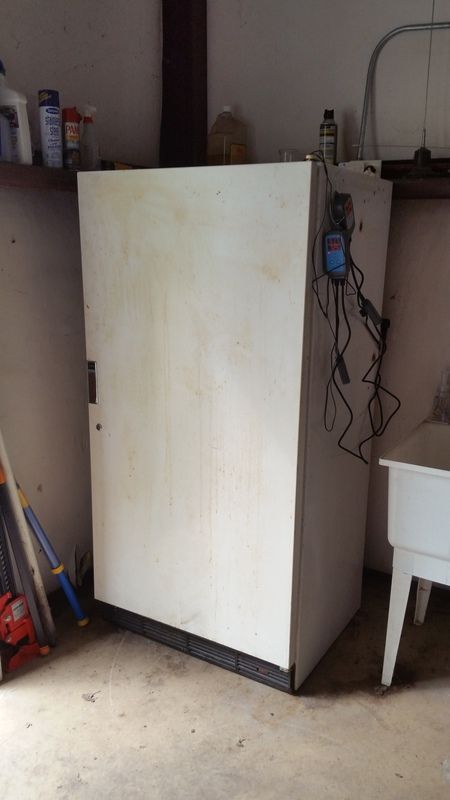
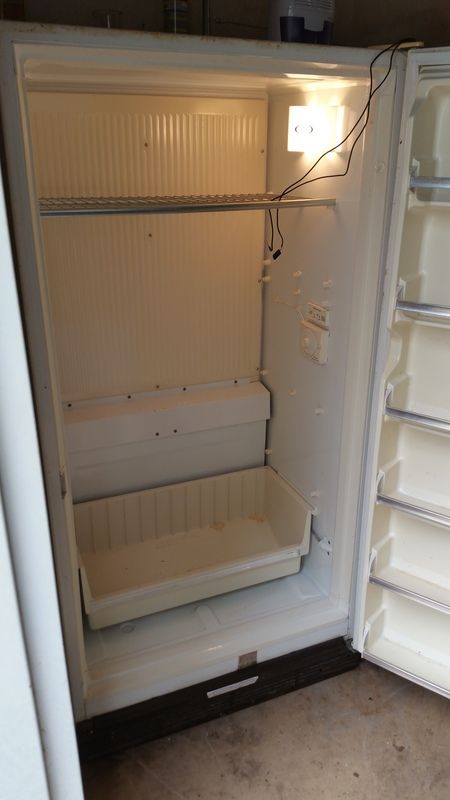
That should hold the humidifier/dehumidifier and still give room for meat! Also, it appears this one does not have the refrigerant lines running through the freezer body, so I should be able to drill holes without worry.
Posted: Fri Mar 10, 2017 23:16
by Bob K
Why dont you think they run through the sides?
Posted: Fri Mar 10, 2017 23:42
by Sleebus
I can't feel any warm spots on the sides, which usually happens when they run through the cabinet. Also, when I had it on its back in the truck, the coils were located on the bottom.
Biggest problem I have now is that it appears it has a new gasket on it, but it doesn't fit well. There's a gap in the seal on the handle side. We'll see how it goes.
Posted: Sat Mar 11, 2017 07:52
by redzed
Be very very careful! Nothing more sickening than hearing that ssssssss...... the moment you drill into the line. Sadly I speak from experience.

I finally finished my new chamber and avoided drilling any holes in the sides or roof. Drilled through the back, the floor and the door. Will post pictures soon.
Posted: Sat Mar 11, 2017 23:16
by Butterbean
I wonder if using something like a Drimmel Power tool or a router to cut into the sides wouldn't be a good way to go. This way you could set the depth just to cut the metal only then excavate by hand.
Posted: Sat Mar 11, 2017 23:23
by Sleebus
Yep, that was going to be the plan, just get through the outer skin and see what there is to see.
Posted: Sat Mar 11, 2017 23:42
by Bob K
Tin snips work.
Posted: Sun Mar 12, 2017 05:10
by Sleebus
So I've let it run for a day or so and it seems pretty stable. I have the dehumidifier in there, haven't but the humidifier in as they seem to fight each other. When the freezer kicks on, it drops the humidity as a result of the coid coil. I think I will run it with just the dehumidifier at first. The meat will likely supply the humidity needed. We'll see how it goes.
I think the first attempt will be lonzino. Seems pretty straight forward, and I've got everything I need...except some good suggestions for recipes!
Anyone?
Posted: Sun Mar 12, 2017 13:47
by Bob K
Orange Lonzino is always a favorite. Chris's recipe is even better with a little heat!
http://www.wedlinydomowe.pl/en/viewtopi ... o&start=15
Or make up your own. Just add correct amounts salt and cure and make up your own spice blend.
Here is another to give an example....the salt could be cut back to 2.5%
http://curedmeats.blogspot.com/2008/06/lonzino.html
Posted: Mon Mar 13, 2017 13:26
by Sleebus
The second example looks good. Can these be done in collagen casings or do I need to use middles? I need to get some Cure #2 on order, so might as well get the right casing to go with it. To me, since I won't be eating the casing either way, seems like a collagen one is the right way to go?
Posted: Mon Mar 13, 2017 14:11
by Bob K
The best casings to use are bungs. Pasted sheets also work well. The collagen don't shrink as well and can leave air pockets. Middles are too small for loins.
Butcher& Packer have good quality ones..... and at less than half the cost as TSM, One bung or cap will fit a whole 10-12 lb loin or you can cut the loin and casing in half and make 2.
http://www.butcher-packer.com/index.php ... cts_id=301
They also carry different sizes

Posted: Mon Mar 13, 2017 14:45
by Sleebus
I see the different sizes...should I really get the 5+ inch one? or would 4.5" be better? I've never used one, so not sure how much they stretch...or don't stretch? I'm looking to do a whole ~10# loin. Good prices there, I can get my #2 and sheep casings for kabanosy and Nurnburger sausages.
Posted: Mon Mar 13, 2017 15:03
by Bob K
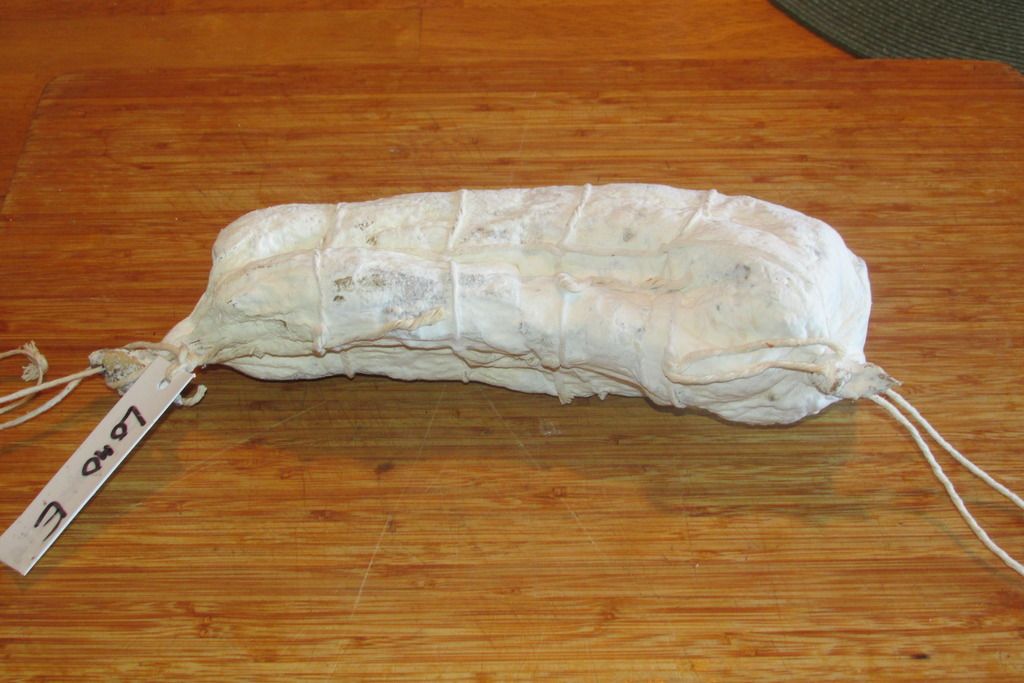
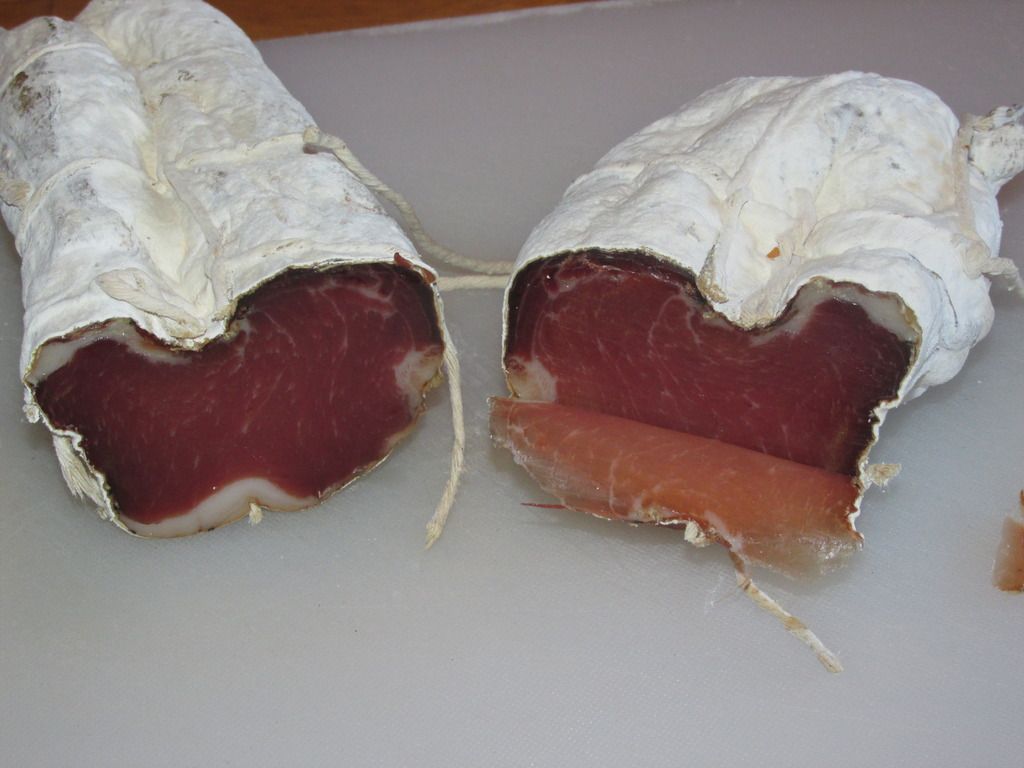
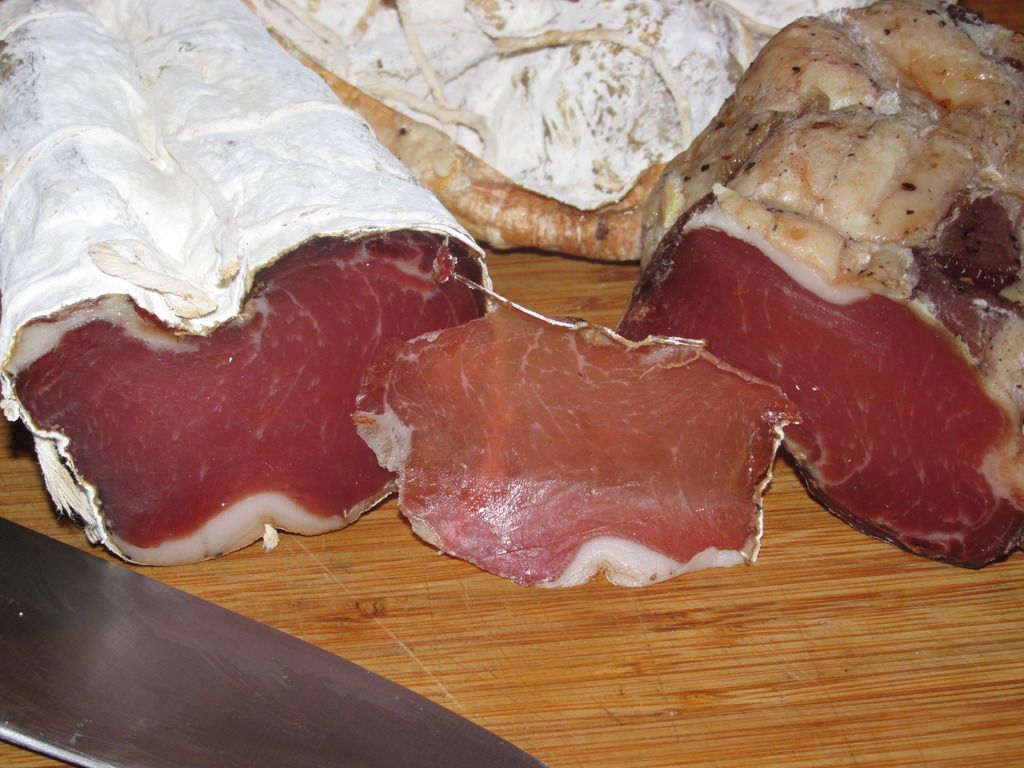
Either one will work with a 10 lb loin. I get the 5+ as they are also longer. Here is one I cut into yesterday. 6 months and a 52% weight loss. It was worth the wait!
Notice how the casing shrinks with the meat, and peels right off.
Recipe used:
2.5 Salt
.5 Cure #2
.25 Sugar
.8 Pepper
.6 Paprica
.15 Garlic Powder
.2 Cayenne
Wonderful taste!
Posted: Mon Mar 13, 2017 16:23
by Sleebus
Oooo, that does look good. Ok, I'll get the 5+ ones then.
One question on the Cure #2 quantity. Any reason why you are using 0.50% instead of the 0.25% I usually see with Cure #1?
Posted: Mon Mar 13, 2017 17:14
by Bob K
The 0.25% is the maximum ingoing amount of nitrite (156ppm) allowed for a commuted sausage. For some reason it has become the standard in many recipes including dry cured whole muscles.
For dry cured whole muscle you are allowed 625 ppm nitrite and 2125 ppm nitrate.
The .5% of cure #2 equates to 312.5 ppm nitrite and 212.5 nitrate, half the maximum amount of nitite, if the cure #2 you use contains 6% nitrite and 4% nitrate ( this varies by supplier).
Confusing, YUP, that's why the .25% is used.
P.S.
The cure #2 from B&P is white not pink.
There are different formulas available in the US sold as Cure #2.
6.25% nitrite and 1% nitrate. (SausageMaker)
5.67% nitrite and 3.63% nitrate. (Butcher & Packer)
6.25% nitrite and 4% nitrate. (Allied Kenco)


