Polish Kielbasa...in a rush!

Post Reply
User avatar
NorCal Kid
Passionate
Passionate
Posts: 338
Joined: Thu Jun 02, 2011 23:43
Location: Sunny Northern California

Polish Kielbasa...in a rush!

Post by NorCal Kid » Tue Aug 23, 2011 20:06

My mother-in-law celebrated her 80th birthday and so a party in her honor was thrown this past weekend. One of the requests I received was to bring enough kielbasa for 20...-the unfortunate part was I didnt get this request until a few days prior to the event.
So between work & other commitments, I gotta crank out some kielbasa. So due to time constraints I wound up taking fewer photos than usual of the process.

Got 10+ pounds of pork shoulder & prepped about half of it in the manner I did in a previous thread where I cut up small lean pieces & cured them overnight before grinding & mixing the balance. I used pretty much the same recipe I used last time, but added a bit more salt and garlic.
My previous kielbasa thread:
http://www.wedlinydomowe.pl/en/viewtopic.php?t=5100

I used larger casings this time (32mm last time) and went with the 38-42mm size.
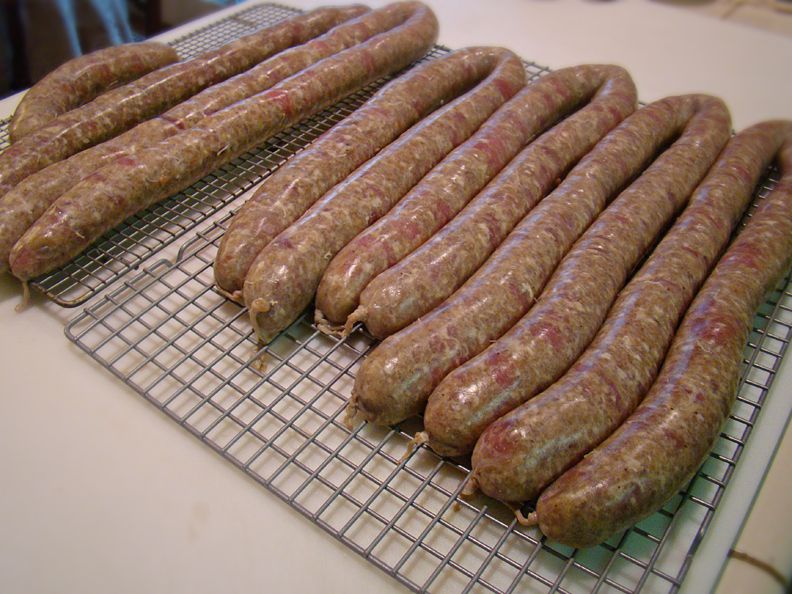
Meats with spices & rest of the cure mixed & stuffed. You can see the cubes of the 'cured' pork within the sausages:
Image

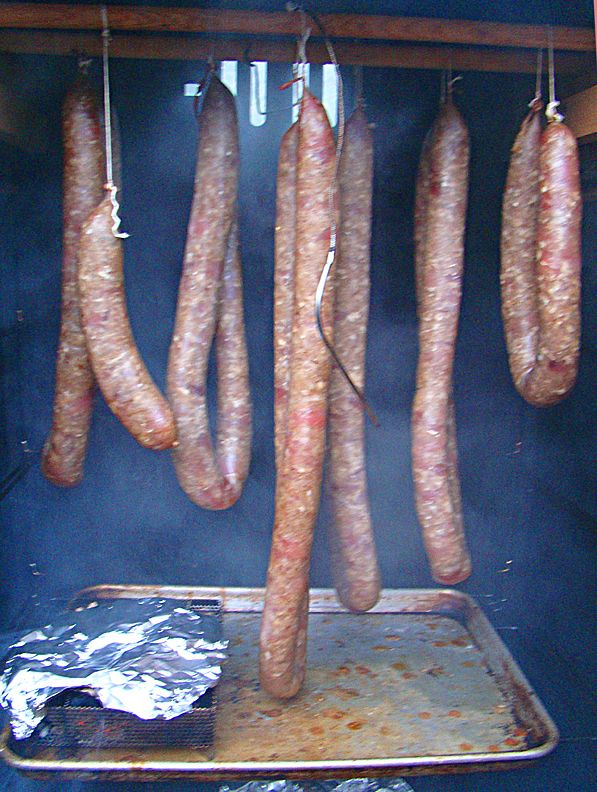
Decided to do a couple of hours of heavy smoke. I used apple wood this time instead of hickory.
I hung the kielbasa @115-120° for an hour to dry before applying the smoke.
Smoke just starting & the sun is starting to set...
Image

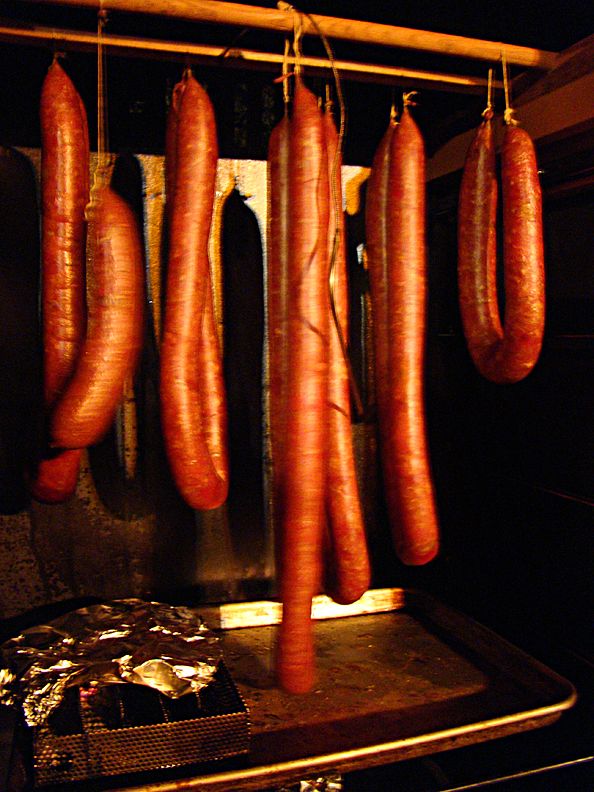
I bumped up the temp to 130-140° over the next two hours with good smoke.
They look ready to pull...
Image

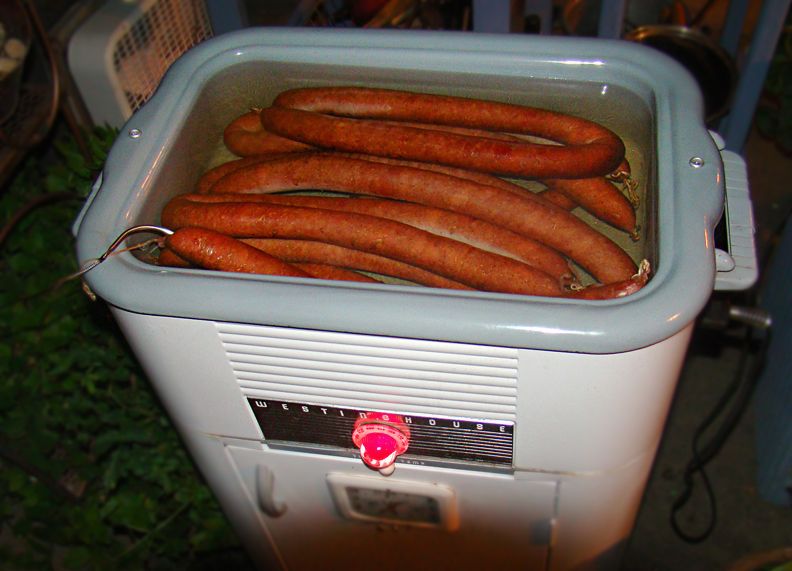
NIGHT POACHER:
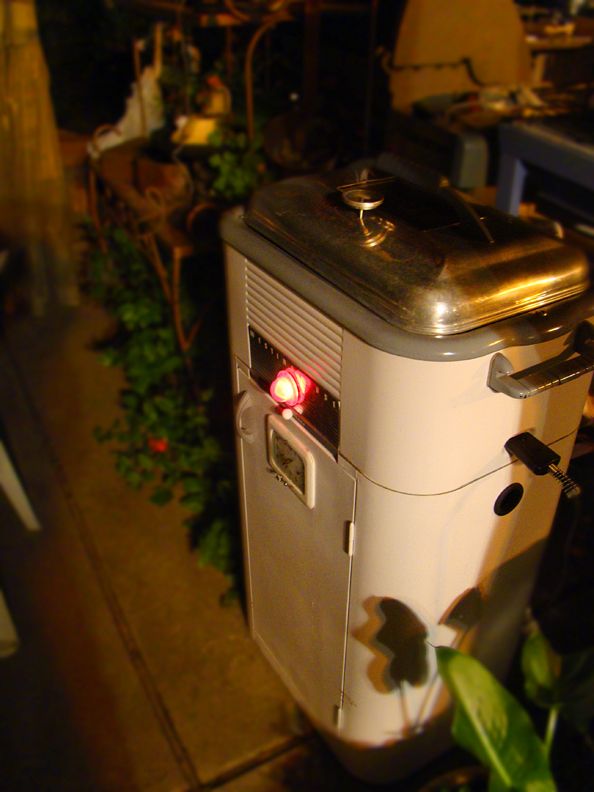
Next I dropped the load into my roaster full of 175° water. Held the temp at around 165-170°
Image

Time for a break while waiting for the kielbasa's IT to hit the magic mark...
Image

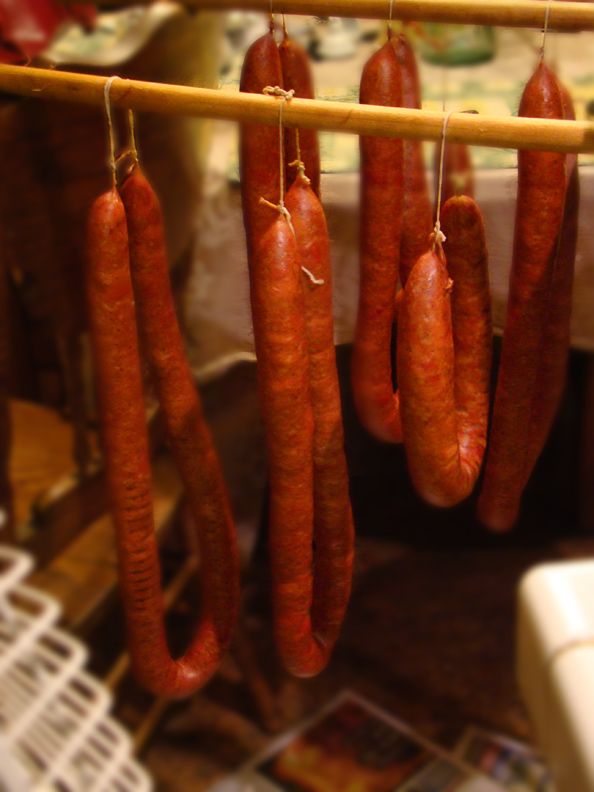
After ONLY about 25-30 minutes, IT hit 157° so I pulled the kielbasa, plunged them into an ice bath & hung 'em up to bloom for 90 minutes or so:
Image

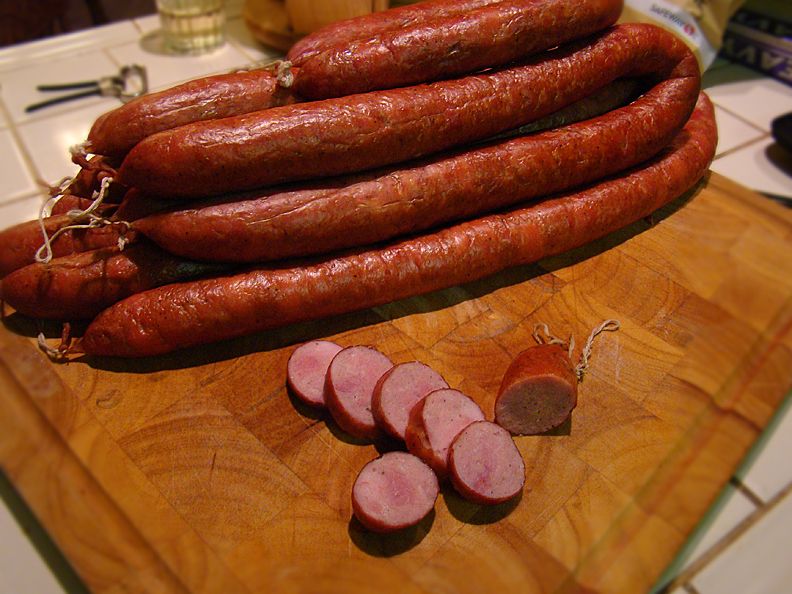
FINALLY: Ten pounds of smoked kielbasa ready for the weekend!
Of course we had to sample some beforehand...
Image

-Kevin

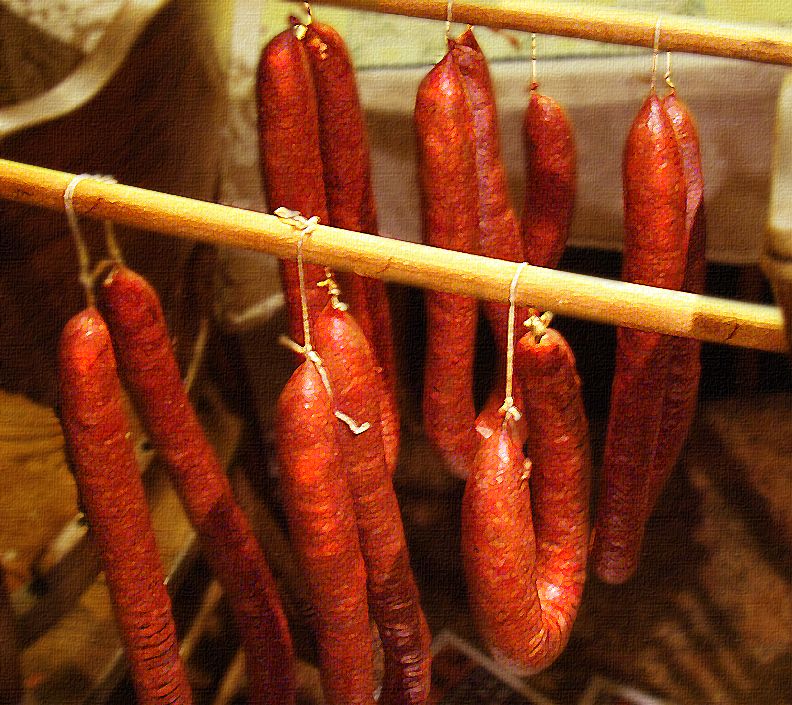
...and for you discriminating fine-art aficionados, I present a "Kielbasa Still Life"... :mrgreen:
Image
Jesus Christ is the same yesterday, today, and forever. — Hebrews 13:8
uwanna61
Passionate
Passionate
Posts: 361
Joined: Sun May 15, 2011 20:49
Location: Vermont

Post by uwanna61 » Wed Aug 24, 2011 02:48

Norcal
As my girl friend "Rachael Ray" :razz: would say, looks yummmoo!
User avatar
Chuckwagon
Veteran
Veteran
Posts: 4494
Joined: Tue Apr 06, 2010 04:51
Location: Rocky Mountains

Post by Chuckwagon » Wed Aug 24, 2011 06:28

Hey Kevin, when are you going to go "full time"? You're having way too much fun! :lol: I really like your smoker and can see evidence of some modifications. Nicely done. What kind of wood smoke are you using?

Best Wishes,
Chuckwagon
If it looks like a duck, walks like a duck, and quacks like a duck, it probably needs more time on the grill! :D
User avatar
NorCal Kid
Passionate
Passionate
Posts: 338
Joined: Thu Jun 02, 2011 23:43
Location: Sunny Northern California

Post by NorCal Kid » Wed Aug 24, 2011 16:45

Chuckwagon wrote:Hey Kevin, when are you going to go "full time"? You're having way too much fun! :lol: I really like your smoker and can see evidence of some modifications. Nicely done. What kind of wood smoke are you using?

Best Wishes,
Chuckwagon
CW, I've discovered it's not just FUN, but this stuff is addicting......

The smoker I used here was an 'Extra-Wide' propane smoker by Masterbuilt. It tends to run hot (200°+) so I'm still fiddling with it to get lower, steadier temps. I add 4 oak dowel racks to allow meat-hanging in place of the 5 shelves the unit came with. For smoke production, I use that metal box shown in the photo-the "A-maze-N smoker" which gives me 2+ hours of steady smoke. It takes either pellets or fine-ground wood dust. I used apple wood this time instead of hickory as I felt the hickory was a bit too overpowering in my last kielbasa batch.

-Kevin
Jesus Christ is the same yesterday, today, and forever. — Hebrews 13:8
ssorllih
Veteran
Veteran
Posts: 4331
Joined: Sun Feb 27, 2011 19:32
Location: maryland

Post by ssorllih » Wed Aug 24, 2011 17:04

On the gas orifice there is usually a 2 digit number. That is the drill size used to drill the hole. You can solder the hole and drill it with a smaller size drill to reduce the flame size. The drills are number drills instead of the usual fractional sizes.
You can get them here:http://www.mcmaster.com/#=drd11s They call them wire size drills.
Ross- tightwad home cook
User avatar
Chuckwagon
Veteran
Veteran
Posts: 4494
Joined: Tue Apr 06, 2010 04:51
Location: Rocky Mountains

Post by Chuckwagon » Wed Aug 24, 2011 21:11

You might also try using a heat diffuser if you're getting hot spots. For short periods, I've found that adding a drip-tray full of ice works well. It also adds moisture to the product. Ross has got the ideal solution but if you have one of the old time cast burners, you may have to braze it. No biggy if you're sure to heat "the work" then use an acid flux to clean it before attempting to braze-weld it.
Hey "dad"... try making some great semi-dry cured (cooked) pepperoni for your boys. They'll think you are a genius!

Best Wishes,
Chuckwagon
If it looks like a duck, walks like a duck, and quacks like a duck, it probably needs more time on the grill! :D
Post Reply